
Installing GNU/Linux on Macbook!
Introduction
This article is about setting up GNU/Linux based operating system like Ubuntu, Kali Linux, ParrotSec OS, etc in your Macbook along with your mac’s macOS. If you are GNU/Linux fan and have no idea about how to setup in your Macbook, this article might be helpful.
I’ll be sharing my own experience of dual-booting different Debian-based GNU/Linux distribution on macbook. (I’ve MacBook Air 13-inch, Early 2015, 1.6 GHz Intel Core i5 and I’ve tried Ubuntu, Linux Mint, Kali Linux, Debian and Parrot Security OS on my mac since years.)
Procedure
1. Create a new partition for GNU/Linux
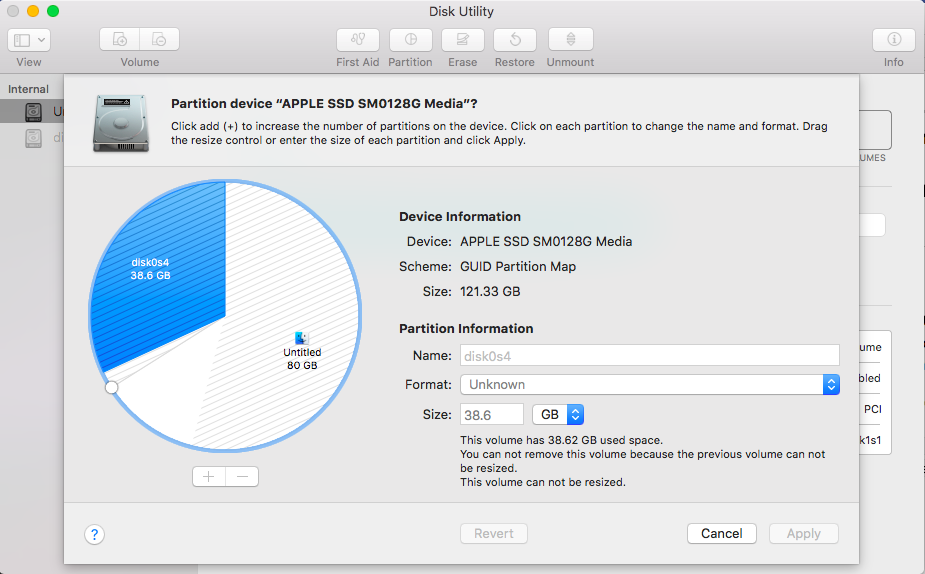
You need a new partition to install another Operating System. There is a program called Disk Utility in MacOS. Create a new partition and format it in anything like xFAT or NTFS or anything for now, of size as your choice (Mimimum disk space required for Ubuntu is 5GB).
 In my case, I’ve created a
 disk0s4 of size 38.6GB on my 128GB SSD.
2. Create another partition for Linux Swap Area
So, what is swap area?
The Swap Area is just fake RAM that lives on your hard drive. It is much slower than actual RAM, but is necessary in many cases to keep a computer running normally. A good rule of thumb is to have as much swap space as you do normal RAM. Learn more about swap area here.
Create another partition for swap area. Size may be same as that of your RAM according to some source.
In my case, it is 2.5GB.
3. Create a Bootable device
Bootable device can be any device like CD-ROM or USB.
Download the iso image of any GNU/Linux distribution of your choice (For example Ubuntu, ParrotSec OS). Create a bootable device (may be pendrive) using programs like Etcher, Unetbootin, dd etc.
4. Time to kick-start!
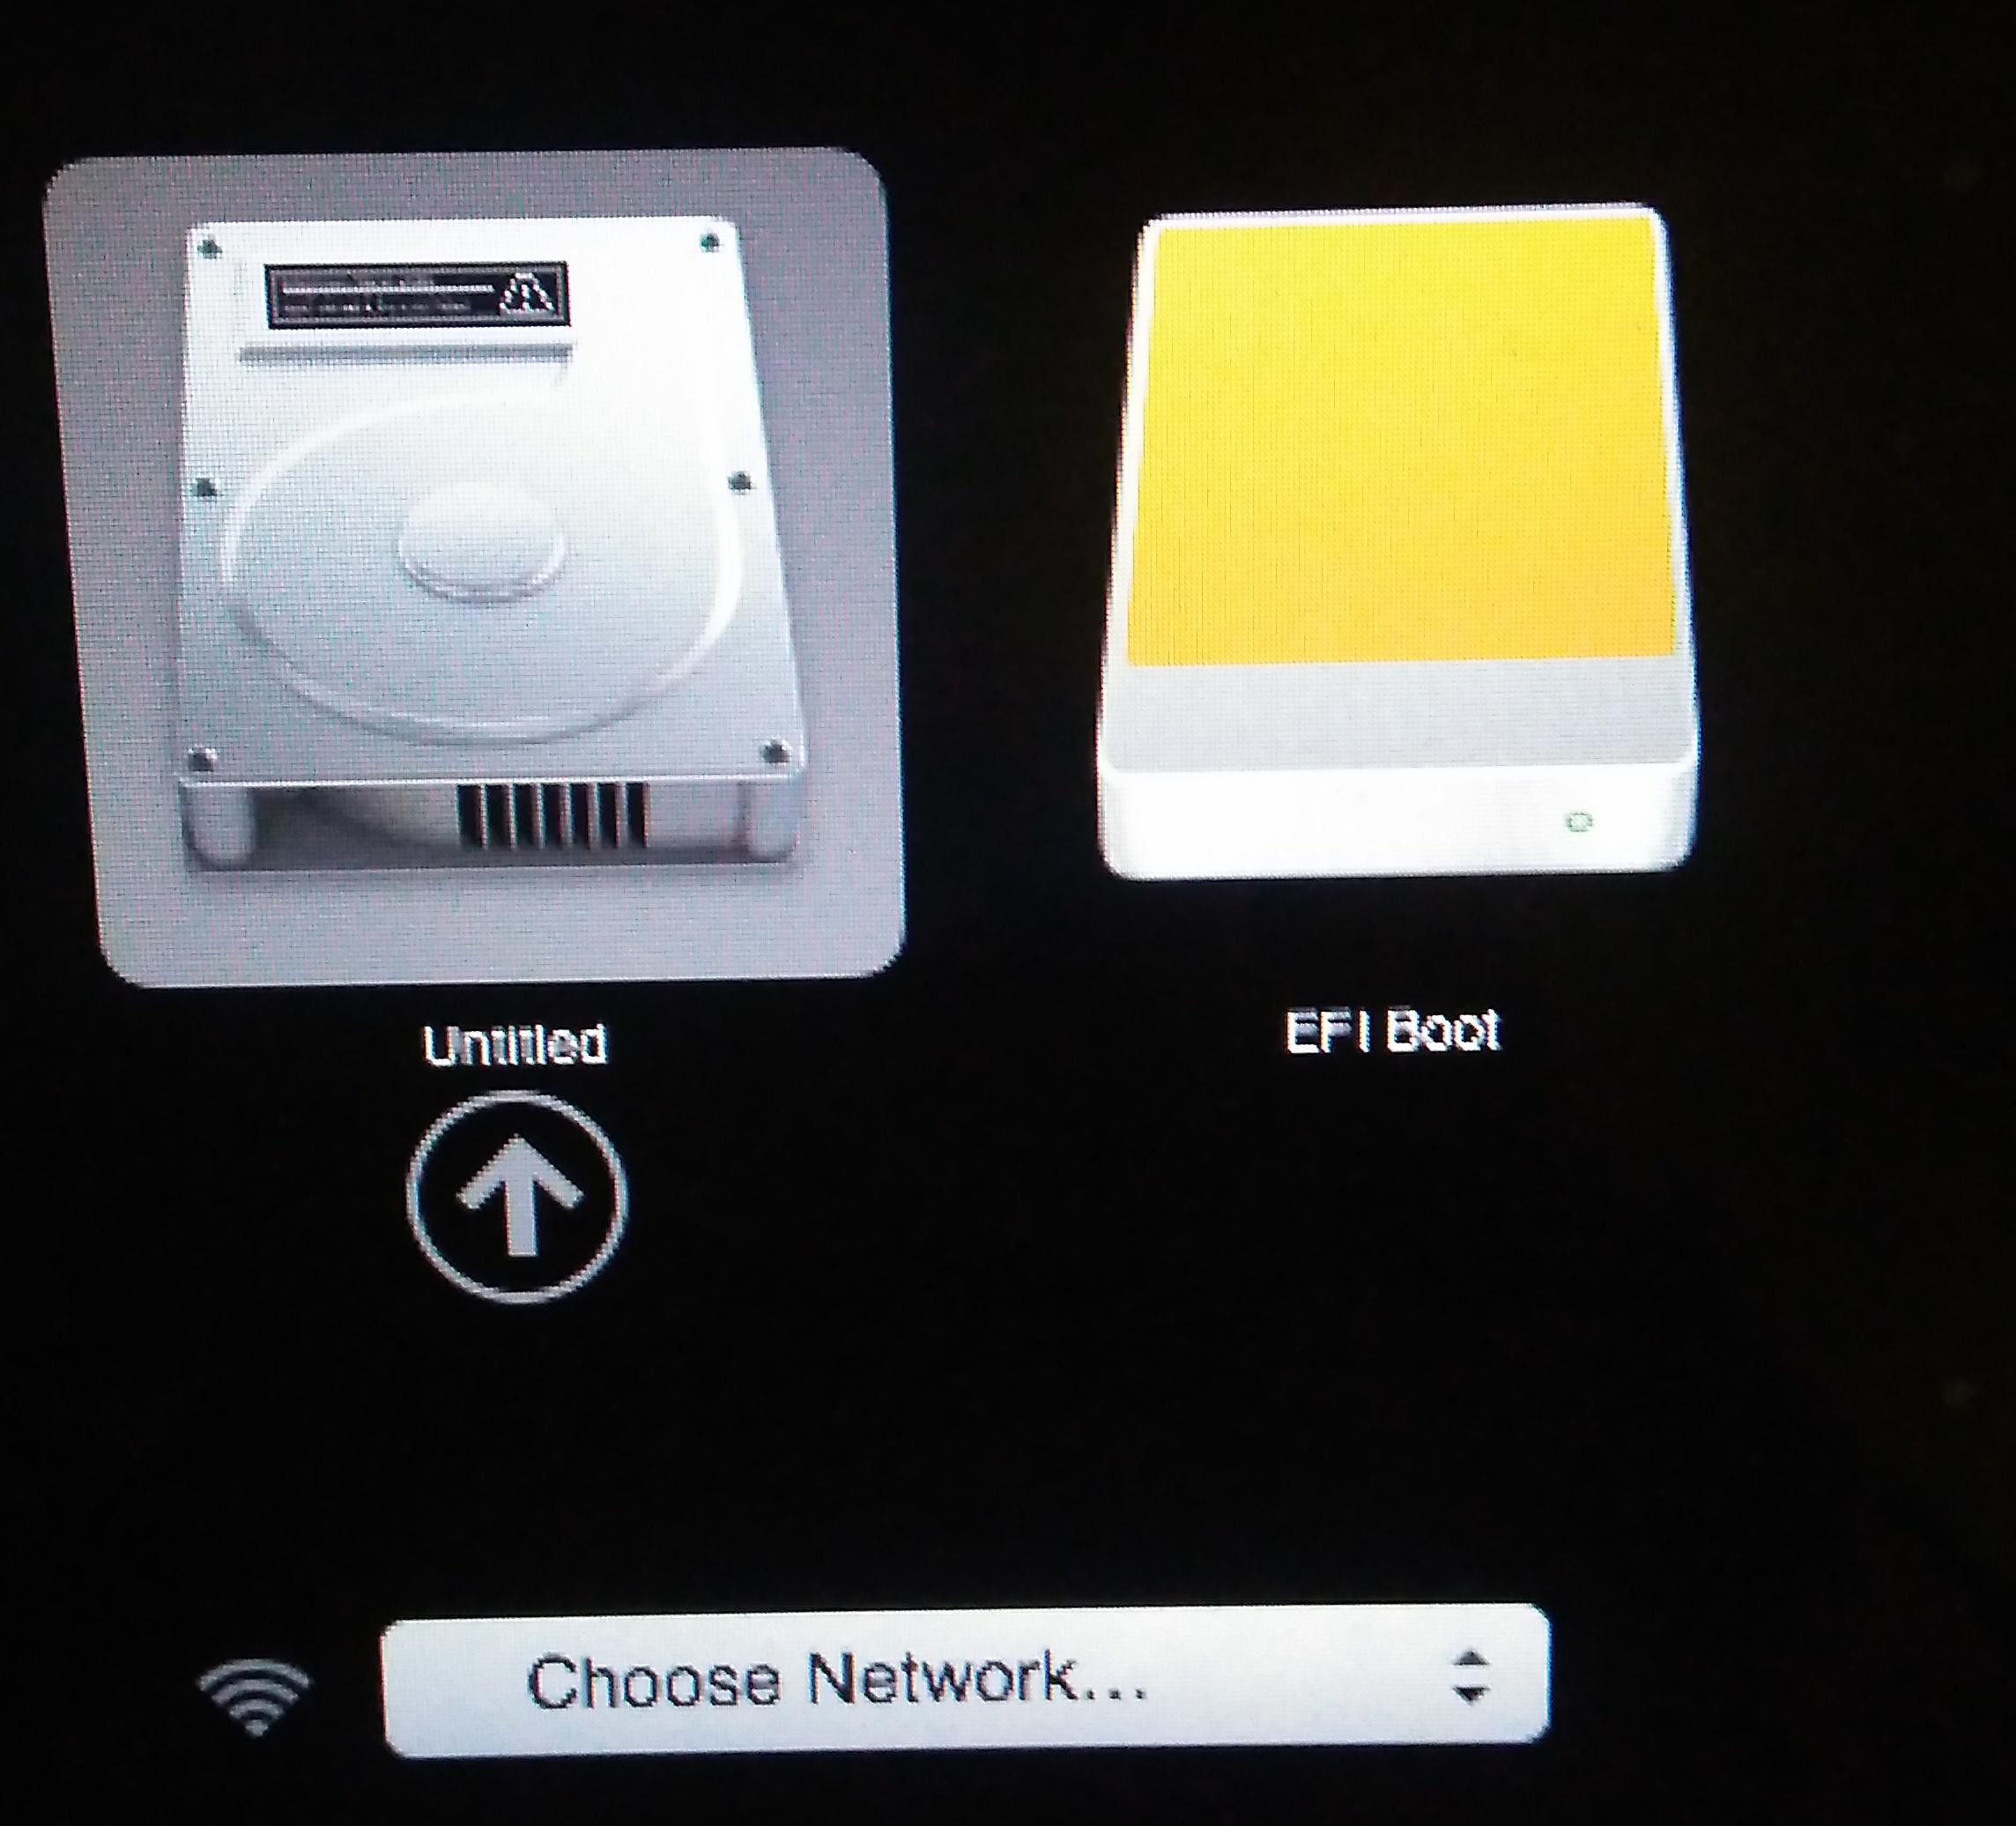
After you’re done with creating bootable device, restart your MacOS and keep holding alt(option) key. You’ll get something like this (shown in figure below) if you have made bootable device correctly.
 Here,
Here, Untitled is my Mac’s default SSD and EFI Boot is bootable pendrive.
Follow the installation options as per GNU/Linux distribution of your choice and when there appears options like choose the installation disk, you need to be more alert. Select options like something else or manually choose the disk and install GNU/Linux carefully on the partition you’ve created earlier. Also don’t forget to assign swap areato the latter partition. Go through each steps carefully until you get message like installation successfully completed.
5. Reboot
After completion of installation, you need to reboot your device. When you reboot, you may directly reach to your newly installed GNU/Linux OS but don’t worry. We need some program like rEFind that displays the boot menu during startup.
- To boot your MacOS, keep holding
alt(option) key during power on (start up). Select your Mac’s default SSD ( in my case, it isUntitledis shown in figure above). - In your MacOS, install rEFind from here.
-
- Installation is pretty simple. Unzip the rEFind file you downloaded, go to the extracted folder, you will find a file named
refind-install.
- Installation is pretty simple. Unzip the rEFind file you downloaded, go to the extracted folder, you will find a file named
-
- Drag that file(
refind-install) into yourTerminaland pressEnter.
- Drag that file(
-
- Enter your user password when needed and then you’re done with rEFind installation.
-
- After this, when you restart you MacOS, you’ll get multiple menus for your multiple OS.
- Navigate the OS of your choice and Enjoy!